Hide the Unity Launcher in Ubuntu 14.04 automatically when you’re not using it. You can show it again by moving the mouse to the left side, or the upper-left corner of the screen. This is a great trick to clear extra space on the screen. Let us see how:
Auto-Hide the Unity Launcher In Ubuntu 14.04
1. Click the system menu in the upper-right corner of the screen on the top panel.
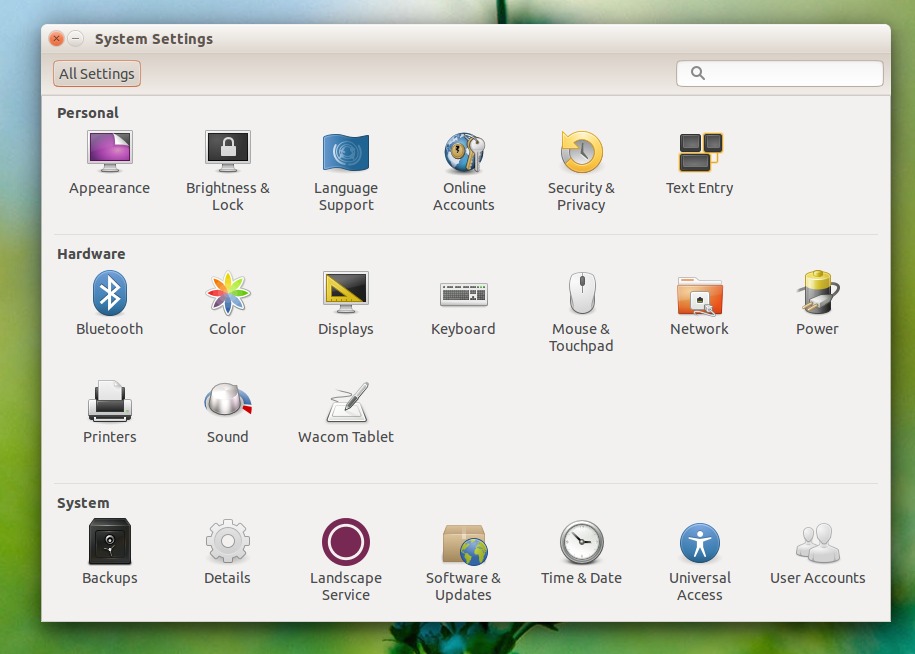
2. Select “System Settings” from the drop-down menu.

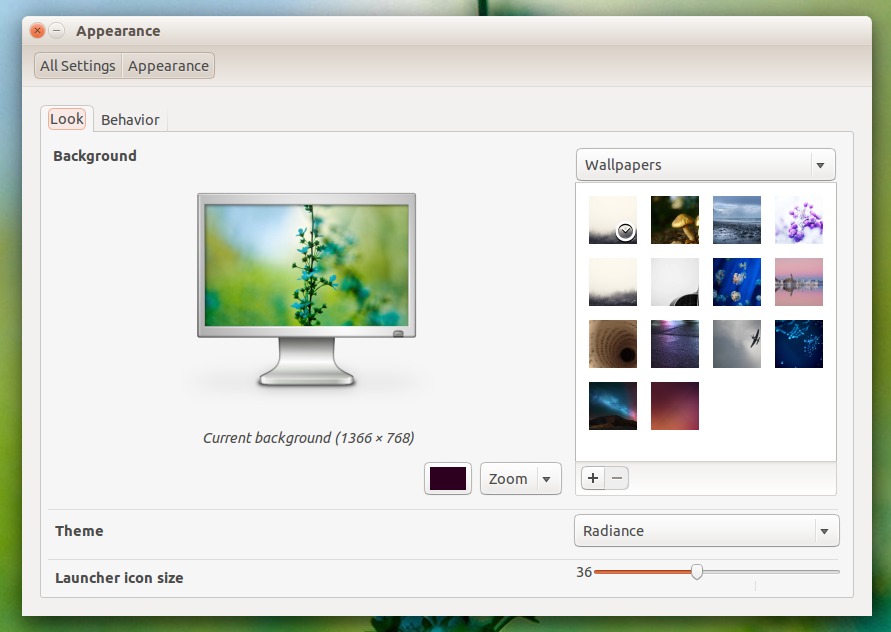
3. Under the “System Settings” dialog box, click “Personal” then click “Appearance.”
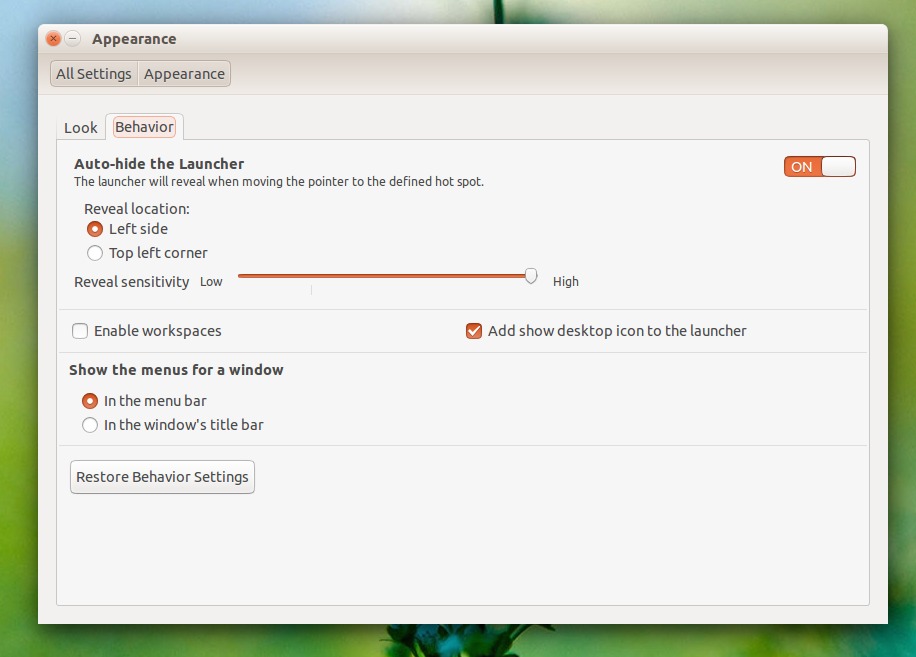
4. On the “Appearance” tab, click the “Behavior.”
5. Click the switch to ON. You can see the ON/OFF switch on the right side of the “Behavior” tab.

6. When you click the swithc ON, it turns orange and you can now see the additional options in the “Auto-hide the Launcher.”
7. Under “Reveal location,” select the “Left side” or “Top left corner” of the screen to show the Unity Launcher.
8. Adjust the “Reveal sensitivity” slider to determine the sensitivity of the reveal location.

9. Once you are done with the settings, close the “Settings” dialog box.
Unity Launcher Auto-Hide Not Working in Ubuntu 14.04
If you are getting problem with the auto-hide feature of the Unity Launcher, you can use the Super key. The Super key reveals the sidebar. You can just tap Super twice if the sidebar gets stuck. You can also tap Super + L or Alt+Ctrl+L to lock and unlock the system.
If the above step doesn’t solve the problem, try re-installing or upgrading the Unity. To do so, open the Terminal and run the following command:
sudo apt-get upgrade unity

sudo apt-get update && sudo apt-get upgrade
