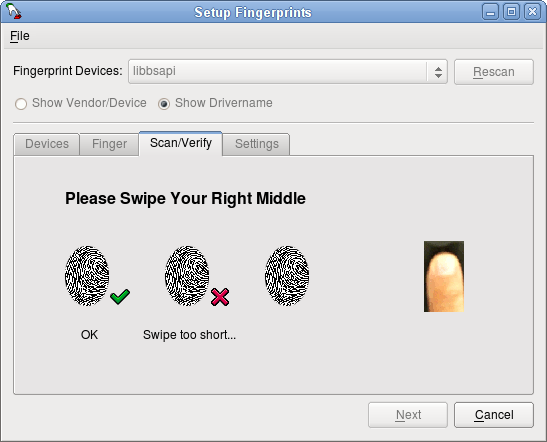
How to use Fingerprints in Ubuntu systems – Ubuntu 14.10, Ubuntu 14.04 & Linux Mint. Install Fingerprint GUI On Ubuntu and popular Ubuntu Derivative Systems. Fingerprint GUI is an open-source application for the laptop’s fingerprint reader which enhances the security.
Install Fingerprint GUI in Ubuntu Systems

Ubuntu users can also download and install a private package archive (ppa), maintained by David Jurenka. For systems with no installation package available, a source tarball of the current version can be obtained from this download link.
Open Terminal and follow the instructions given below to install Fingerprint GUI on Ubuntu 14.10, Ubuntu 14.04, Ubuntu 12.04 and Linux Mint 17.1/17/13 Systems.
1. Add this PPA to your sources:
sudo add-apt-repository ppa:fingerprint/fingerprint-gui

sudo apt-get update
2. Install the packages:
sudo apt-get install libbsapi policykit-1-fingerprint-gui fingerprint-gui
3. Log out of your session and log back in (we need the new session defaults to be picked up).
After installation launch “Fingerprint GUI” and enroll your fingerprints.
Uninstall Fingerprint GUI From Ubuntu Systems
Run the following command to uninstall and remove Fingerprint GUI. Please make sure you install policykit-1-gnome back first.
sudo apt-get install policykit-1-gnome

sudo apt-get remove fingerprint-gui
Please note that Fingerprint GUI doesn’t work with kdm and kscreensaver.
Troubleshooting
If you encounter a problem or something doesn’t work, try one of the following solutions:
- In terminal run “sudo pam-auth-update”. Ensure that the PAM profile called “Fingerprint authentication by Fingerprint GUI” is on top of the list and active. if not, reset PAM to system defaults with “sudo pam-auth-update –force”.
- Check /var/log/auth.log for any unexpected entries. By default, the Fingerprint GUI is set up to run in debugging mode.
