Delete old kernels in Ubuntu 16.04. Remove Ubuntu kernels you don’t need. Clean Ubuntu and remove old kernel versions. How to delete old Linux Kernels (purge-old-kernels). Terminal commands for Ubuntu to remove old Kernels automatically.
Purge Old Kernels
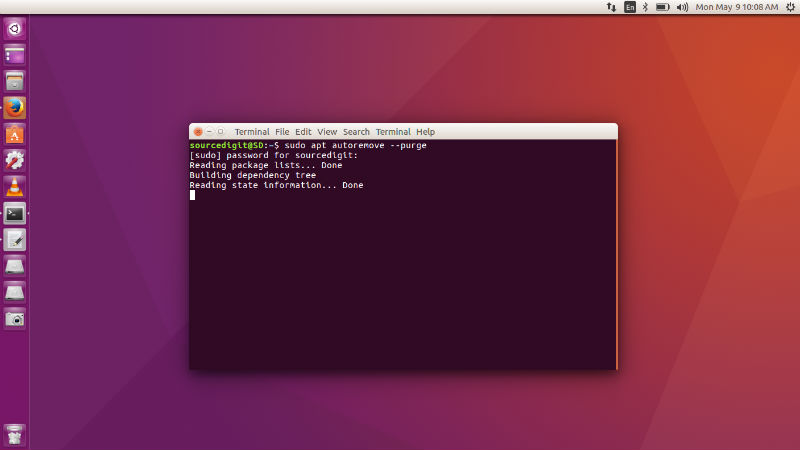
You can easily remove the old unused kernels, i.e. purge-old-kernels that have been automatically installed via regular Ubuntu system update. To purge-old-kernels run the following command in terminal:
sudo apt autoremove --purge

sudo purge-old-kernels
Enable Automatic Removal of Old & Unused Kernels
You can easily enable unattended upgrades using System Settings. To do so, open System Settings and navigate to Software & Updates > Updates Tab. Here, check the box for *-security (and/or any other repositories you wish) Automatically check for updates: Set to any frequency (except ‘Never’) When there are security updates: Set to Download and Install Automatically.

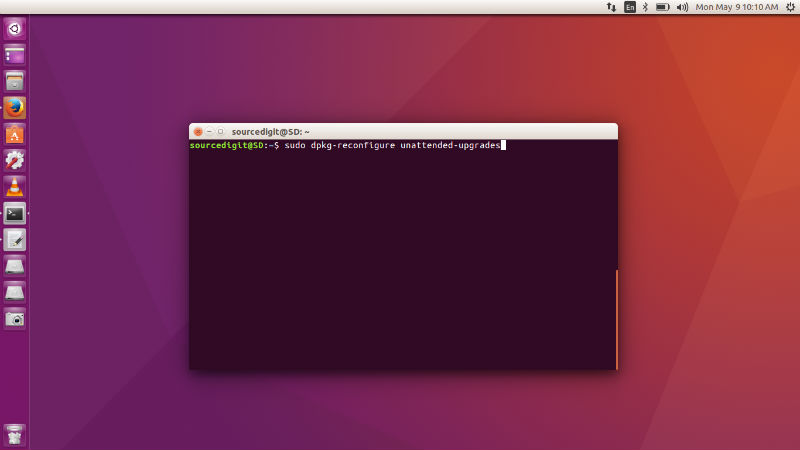
You can also use Shell to do the same task. Run the following command to reconfigure unattended upgrades:
sudo dpkg-reconfigure unattended-upgrades
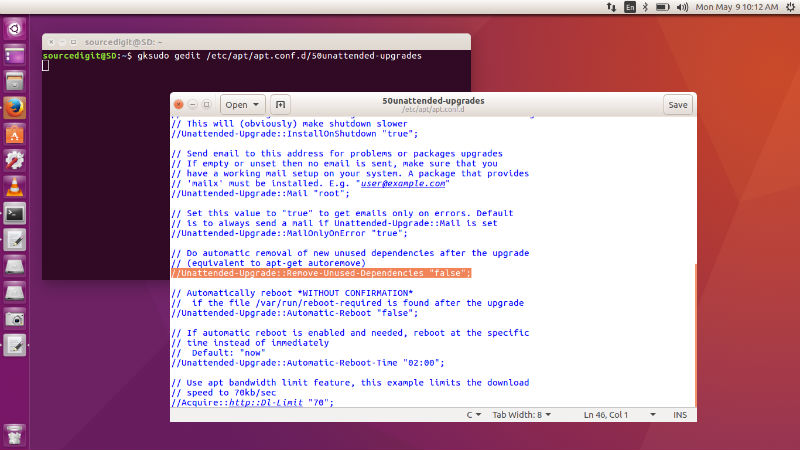
Now open and edit the config file. Run the following commands to open the file in the systems’ text editor:
gksudo gedit /etc/apt/apt.conf.d/50unattended-upgrades
Once the file is opened, search for “Remove-Unused-Dependencies” and uncomment the following code – Change the value to true (from false). To uncomment the line, add // at the beginning of the line. Look below at the screenshot: //Unattended-Upgrade::Remove-Unused-Dependencies “false”;

Once executed the system should now remove old automatically installed kernels and packages associated to them – automatically. It does not purge then, however.
Remove Old Kernels Using DPKG

Removing old unused Kernels, using DPKG is very effective when the systems’ boot partition is already full and apt can’t work on packages. For such systems, first we need to check out current kernel so that we don’t remove that. Please note that removing the currently active Kernel will make the system unstable and un-workable.
To list all the pre-installed Kernels, run the command uname -r i n Terminal. To be more sure, run the following command to list all the Kernels, excluding the currently booted and active (being used):
dpkg -l | tail -n +6 | grep -E 'linux-image-[0-9]+' | grep -Fv $(uname -r)
The output of the above command will display the kernel images with three categories. From the above Kernel categories, you can easily remove old Kernel images with II (ii) listed infront of it.

Once you have removed the Kernel, please update the system and fix the apt broken dependency. Run the following command:
sudo apt -f install

sudo apt-get update

sudo apt-get upgrade
Manually Remove Installed Kernels
You can also manually remove installed Kernels using the script. One such script is maintained in byobu package (https://launchpad.net/~byobu/+archive/ubuntu/ppa). To use such script, you will need to install it first.
sudo add-apt-repository ppa:byobu/ppa

sudo apt-get update

sudo apt-get install byobu
Once the script is installed, run the script to remove old kernels:
sudo apt autoremove --purge

sudo purge-old-kernels
