Syncthing File Synchronization Software for Linux Ubuntu. Install Syncthing on Ubuntu 16.04 Systems. Syncthing is an open source continuous file synchronization application that lets you synchronize your files across multiple devices. Every operations such as the creation, modification or deletion of files on one machine will automatically be replicated on other devices.
Syncthing is easy to use. Syncthing doesn’t need IP addresses or advanced configuration: it just works, over LAN and over the Internet. Syncthing comes with a powerful web GUI. It can be used to configure and monitor Syncthing via a responsive and powerful interface accessible via web browser.
Syncthing v0.14.4
Syncthing v0.14.4 is the latest release of the file synchronization application. It is a minor release and brings the following changes:
- Completion percentage calculations have been improved.
- Windows build have been fixed for Go 1.7, and now requires Go 1.7.
- A zero progress update interval doesn’t drive up CPU usage during syncing any more.
- Virtual modtime handling has been fixed, so that master folders no longer become spuriously out of sync.
- Temporary index sorting databases are removed from disk at startup, if left over after a hard stop.
- Automatic upgrade takes more care to not leave temporaries behind or remove the original in case of upgrade failure.
Install Syncthing On Ubuntu
Syncthing file synchronization tool can be easily installed on Ubuntu Systems. Follow the steps given below to install Syncthing:
Step 1: Add the release PGP keys:
sudo apt upgrade

sudo apt install curl

curl -s https://syncthing.net/release-key.txt | sudo apt-key add -
Step 2: Add the “release” channel to your APT sources:
echo "deb http://apt.syncthing.net/ syncthing release" | sudo tee /etc/apt/sources.list.d/syncthing.list
Step 3: Update and install syncthing:
sudo apt-get update

sudo apt-get install syncthing
Using Syncthing
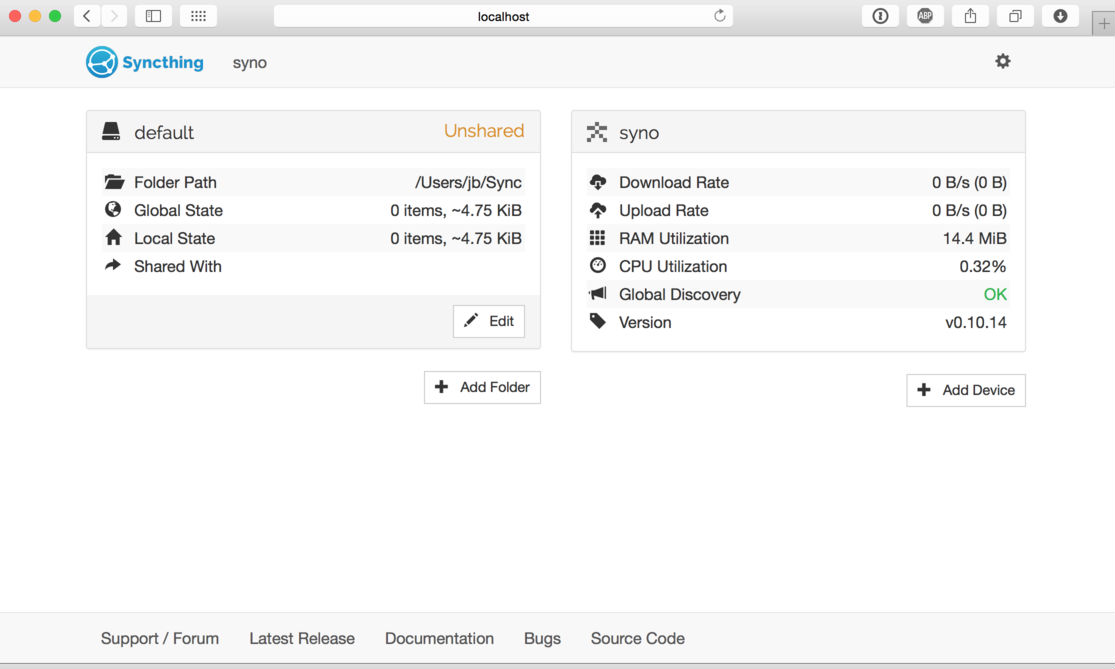
Syncthing Web User GUI – Open Web browser and type 127.0.0.1:8384 to access the Syncthing Web interface.
Syncthing Admin GUI – The admin GUI starts automatically and remains available on https://localhost:8384/. Cookies are essential to the correct functioning of the GUI; please ensure your browser accepts them.