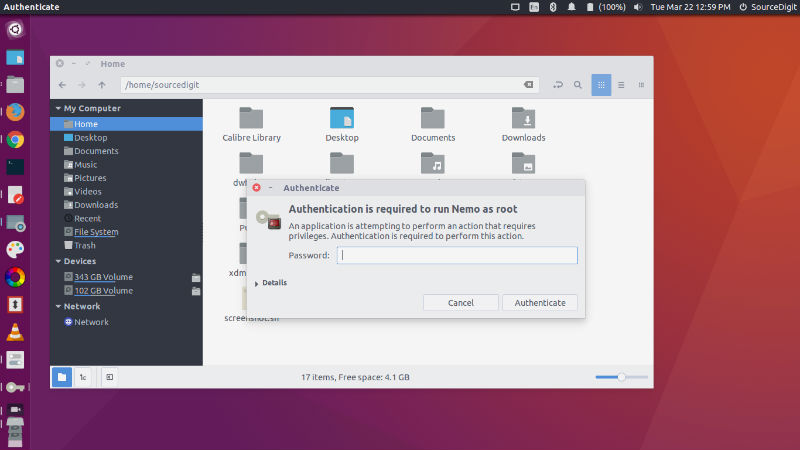
How to set Nemo as the default file manager on Ubuntu Linux Systems. Install and use the Nemo file manager for Ubuntu 16.10 and Ubuntu 16.04 Systems. Nemo is a powerful file manager application for Linux Ubuntu Systems which allows users to “open as root” and “open in terminal”. It comes with elevated privileges and is a wonderful tools to manager files without worrying about permissions.

Nemo 3.2.0 is the latest release of the file manager. It has been released with Unity patches and without Cinnamon dependencies and is available for Ubuntu 16.10 and Ubuntu 16.04 Systems. For those who haven’t installed Nemo yet, run the following commands to install Nemo on Ubuntu Linux Systems:
Install Nemo on Ubuntu
Run the Nemo file manager for Ubuntu 16.10 and Ubuntu 16.04 Systems
sudo add-apt-repository ppa:webupd8team/nemo3

sudo apt update

sudo apt install nemo
Once installed, users can open Nemo manager from Ubuntu Dash.
Set Nemo As Default File Manager
Now comes the important part, to set Nemo as the default file manager for Linux Ubuntu Systems. Ubuntu users can easily set set Nemo as the default file manager. These commands given below will disable Nautilus on Ubuntu Linux and it will stop Nautilus from handling the Desktop. To do so, run the following commands:
sudo apt update

gsettings set org.gnome.desktop.background show-desktop-icons false

xdg-mime default nemo.desktop inode/directory application/x-gnome-saved-search
Once the above commands are executed, restart the Linux Ubuntu system to apply the changes.
Reset Changes; Disable Nemo As Default File Manager
Run the following command to revert the changes and reset Nautilus; stop Nemo to use as the default file manager.
sudo apt update

gsettings set org.gnome.desktop.background show-desktop-icons true

xdg-mime default nautilus.desktop inode/directory application/x-gnome-saved-search
Restart the Linux Ubuntu system to apply the changes.
More Info: https://github.com/linuxmint/nemo
