How to install fonts in Linux Ubuntu 14.04/14.10 systems. Install new fonts in Ubuntu – installing downloaded fonts in Ubuntu and installing new fonts manually. You can install new fonts using Synaptic Package Manager
Installing downloaded fonts in Ubuntu 10.04
- Download the fonts file on your Ubuntu PC.
- Open the downloaded font file.
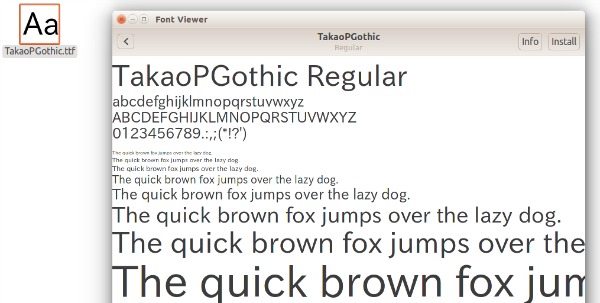
- Double click on the font file to open the font viewer window.
- On the right side of the font viewer window, there is “Install Font” button, click on it.
- Once the font is installed, you shall see the button turning to “Installed” message.
- That’s it. You have successfully installed the font in Ubuntu 14.04.

Installing new fonts
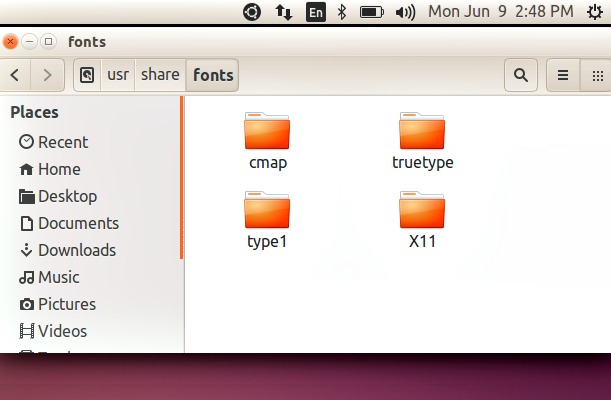
There are other two ways to install new fonts in Ubuntu 14.04. You can either install a new fonts using the Synaptic Package Manager or install it manually. When you use Synaptic Package Manager, you install fonts from the Ubuntu repositories. Second method uses manual steps to install a new fonts. When you install a new font manually, you drag and drop new font file into the fonts folder (/usr/share/fonts).
Manually Installing Fonts
- Download the font file.
- Open the fonts directory on your LInux system. (/usr/share/fonts)
- Drag and drop the font file into the fonts directory /usr/share/fonts.

Using Synaptic Package Manager to Install Fonts
Before you use Synaptic Package Manager, you will need to enable the Universe and Multiverse repositories to get all the fonts available. Once the repositories are set up, search “font” in Synaptic. In the result-page you shall see a list of font packages. Please remember that not all the packages are fonts-packages.
Click on a package to see its description before you use it. For example, the msttcorefonts package contains the Microsoft web fonts. The same font package is also named as ttf-mscorefonts-installer.
Once you get the desired font-package, install it.
