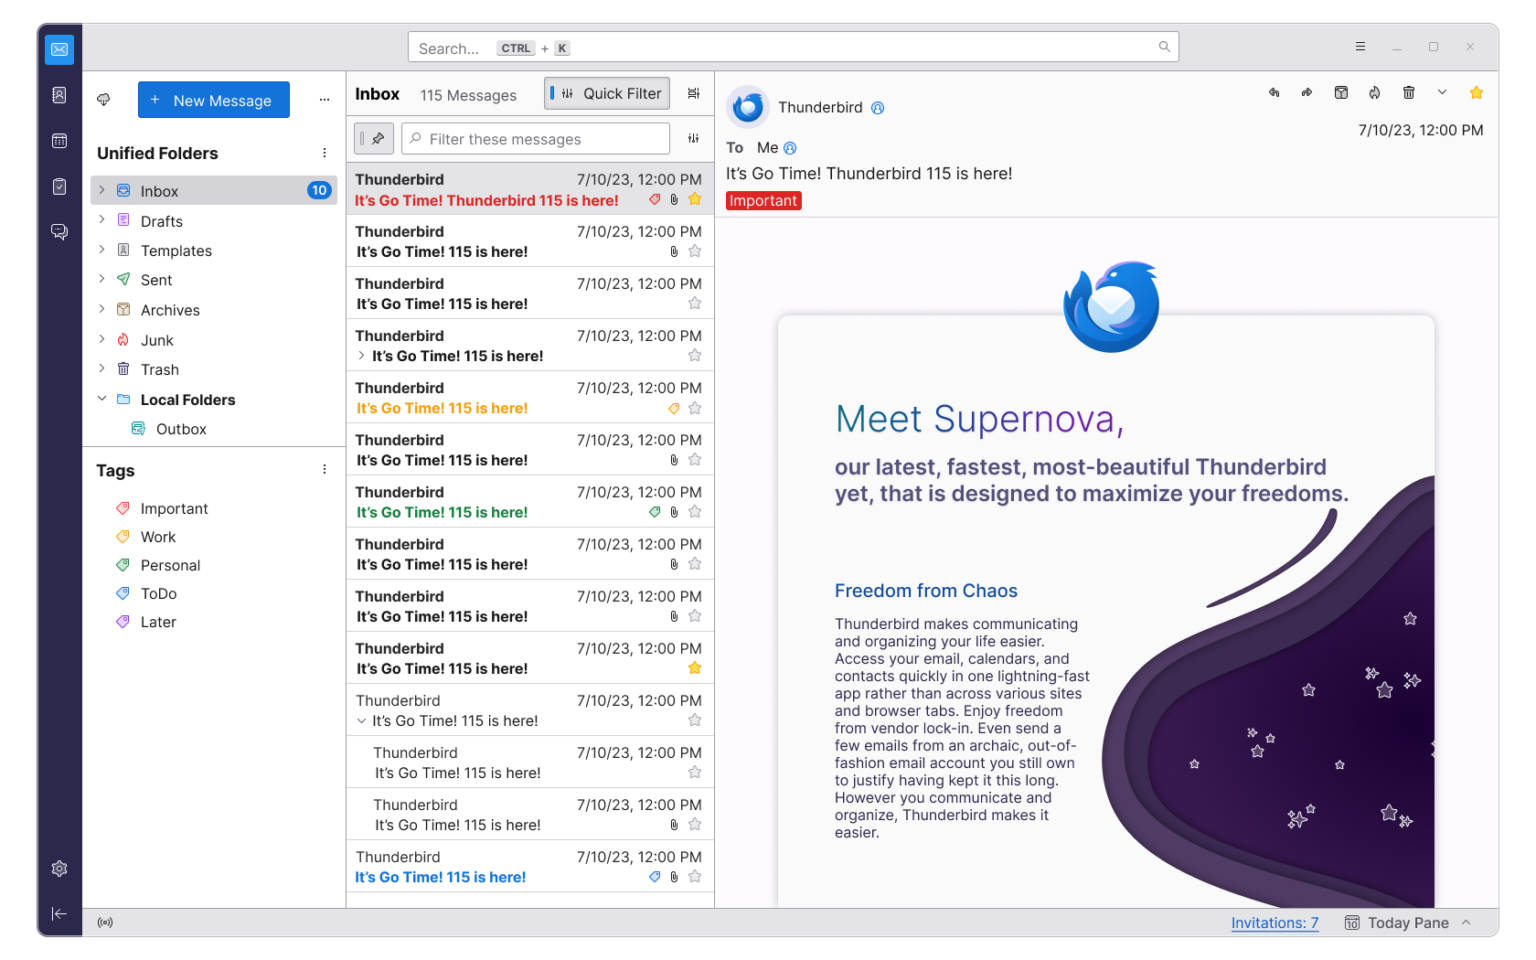
Thunderbird for Linux is the best email client for Linux 2023. Here is how to install Thunderbird on Ubuntu Linux via command line or Ubuntu terminal.
Thunderbird 115 “Supernova”
The latest release brings Supernova UI with updated 3-Pane window with updated folder, message list, and message display panes; updated Quick Filter, Calendar and Address Book with new Vertical View, Unified Toolbar folders are now added to virtual parent folders and saved searches automatically

Download Thunderbird 115 “Supernova”
Thunderbird 115 is also available to download directly at thunderbird.net for Windows, Linux, and macOS. You can also install the Thunderbird Flatpak from Flathub, which is packaged and maintained by the Thunderbird team.
Install Thunderbird 115 “Supernova”
To install the latest release of Thunderbird email client, run the following commands:
$ sudo apt update && sudo apt upgrade -y
$ sudo apt install thunderbird
You can also download and install Thunderbird manually.
Go to the Thunderbird’s download page and download the latest release. Now open a terminal and go to the download folder or the destination folder where your downloaded the latest release.
Now extract the contents of the downloaded file and install it by typing:
tar xjf thunderbird-*.tar.bz2
mv thunderbird /opt
ln -s /opt/thunderbird/thunderbird /usr/local/bin/thunderbird
wget https://raw.githubusercontent.com/mozilla/sumo-kb/main/installing-thunderbird-linux/thunderbird.desktop -P /usr/local/share/applications
Once done, you can start the Thunderbird using the command: $ thunderbird.
Now provide your full name, email address and password and then click on the “Continue” option. Select the configuration: there are two configurations IMAP and POP3 and click finish button.
