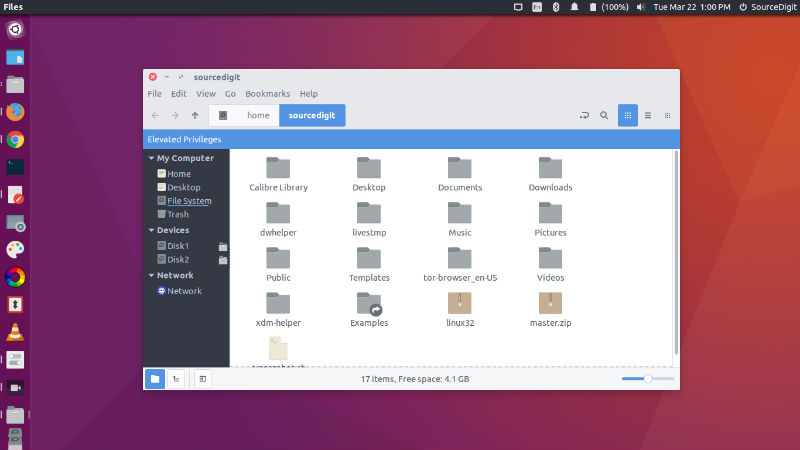
Install the latest Nemo file manager on Ubuntu, via PPA. Download and install Nemo with extensions and patches on Ubuntu Systems. Nemo lets you open as root/administrator in Ubuntu. Nemo file manager has a built in “open as root” context menu option. Best of all, it displays an “elevated privileges” banner (see screenshot below) when running as root. It also brings new extensions such as nemo-image-converter, nemo-filename-repairer, nemo-emblems, and old extension got new updates and features.

Install Nemo on Ubuntu
To install Nemo in Ubuntu Systems, run the following command to add the Nemo WebUpd8 PPA:
sudo add-apt-repository ppa:webupd8team/nemo

sudo apt-get update

sudo apt-get install nemo nemo-fileroller
Please note that if you already have an older Nemo version installed, upgrade to the latest Nemo version, Run the following command to do so:
sudo apt-get update

sudo apt-get upgrade

killall nemo
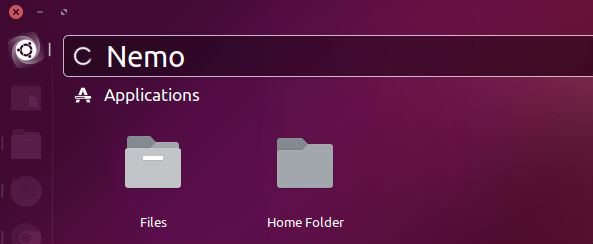
Once installed, open the Nemo file manager from the Ubuntu Dash or menu. Please note that you won’t see Nemo icon, but if you search for “Nemo”, the “Files” option shows up. Click on it to open Nemo.

The Nemo file manager comes with many extensions. You can install those Nemo extensions via Ubuntu Software Center or Synaptic Manager. You can also install Nemo extensions using the command:
sudo apt-get install nemo-compare nemo-audio-tab nemo-emblems nemo-filename-repairer nemo-fileroller nemo-gtkhash nemo-image-converter nemo-media-columns nemo-pastebin python-nemo nemo-rabbitvcs nemo-seahorse nemo-share nemo-terminal
Remove Nemo Manager
If you wish to uninstall and remove Nemo file manager, run the following commands:
sudo apt-get autoremove nemo nemo-*

sudo apt-get install ppa-purge

sudo ppa-purge ppa:webupd8team/nemo
