How to install GScan2PDF 2.5.6 in Linux Ubuntu. Users can scan pdf to word in Ubuntu Linux using GScan2PDF. The gscan2pdf is a GUI to produce PDFs or DjVus from scanned documents.
Scanning is handled with SANE via scanimage. PDF conversion is done by PDF::API2. TIFF export is handled by libtiff (faster and smaller memory footprint for multipage files).
Install Gscan2pdf
Run the following commands in Terminal to install Gscan2pdf:
sudo apt-get update

sudo add-apt-repository ppa:jeffreyratcliffe/ppa

sudo apt-get update

sudo apt-get install gscan2pdf
Once installed, open the Gscan2pdf from Ubuntu Dash.
gscan2pdf Usage
- Scan one or several pages in with File/Scan
- Create PDF of selected pages with File/Save
gscan2pdf has the following command-line options:
–device= Specifies the device to use, instead of getting the list of devices from via the SANE API. This can be useful if the scanner is on a remote computer which is not broadcasting its existence.
–help Displays this help page and exits.
–log= Specifies a file to store logging messages.
–(debug|info|warn|error|fatal) Defines the log level. If a log file is specified, this defaults to ‘debug’, otherwise ‘warn’.
–import= Imports the specified file
–version Displays the program version and exits.
Scanning is handled with SANE via scanimage. PDF conversion is done by PDF::API2. TIFF export is handled by libtiff (faster and smaller memory footprint for multipage files).
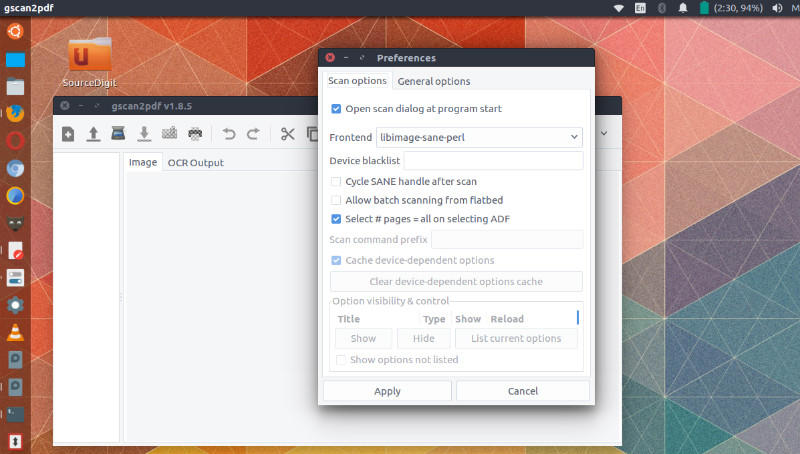
Note: gscan2pdf creates a text resource file in ~/.config/gscan2pdfrc. The directory can be changed by setting the $XDG_CONFIG_HOME variable. Generally, however, preferences should be changed via the Edit/Preferences menu, or are captured automatically during normal usage of the program.
Diagnostics
To diagnose a possible error, start gscan2pdf from the command line with logging enabled and check file.log.
gscan2pdf --log=file.log
Uninstall and Remove Gscan2pdf
If you want to remove Gscan2pdf from Linux Ubuntu Systems, run the following commands:
sudo apt-get remove --autoremove gscan2pdf

sudo apt-get update