Create Wifi Hotspot in Ubuntu 14.04. Create wireless hotspot in Ubuntu, using Unity’s Network Manager with Android devices support. You can easily create WiFi Hotspot in Ubuntu 14.04 using Unity’s default Network Manager.
Before you start to create WiFi Hotspot in Ubuntu 14.04, disable WIFI and plug in a wired Internet connection to your laptop/PC. Please makes sure that the Ubuntu is connected to a wired internet and wireless is disabled.
1. Disable WiFi and connect to a wired Internet connection.
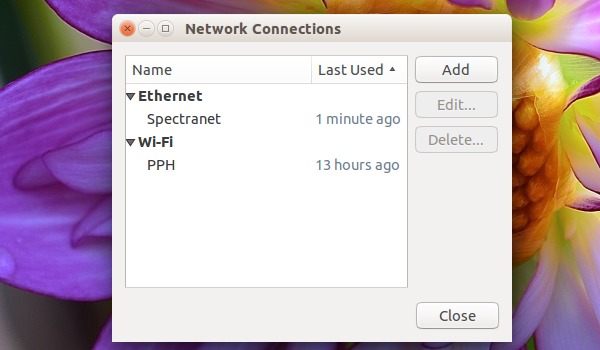
2. Go to Network Icon on top panel.
3. Select Edit Connections and then click the Add button (in the pop-up window). You can also select Create New WiFi Network.
4. Choose Wi-Fi from the drop-down menu (under connection type).

5. In next window, do the following
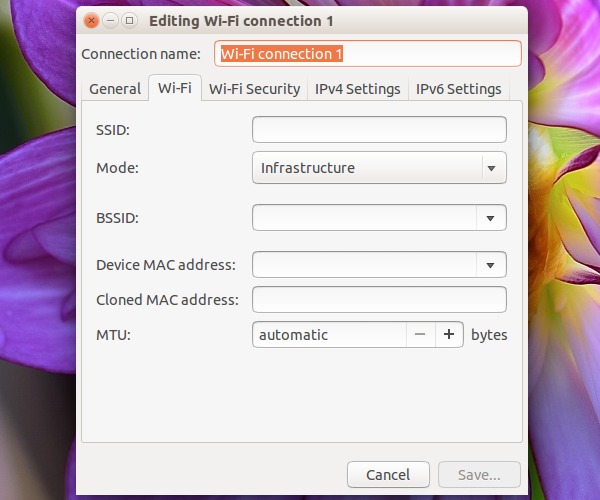
- Type in a connection name. Please note this name as we will use the name later.
- Type in a SSID
- Select mode: Infrastructure
- Device MAC address: Select your wireless card from drop-down menu
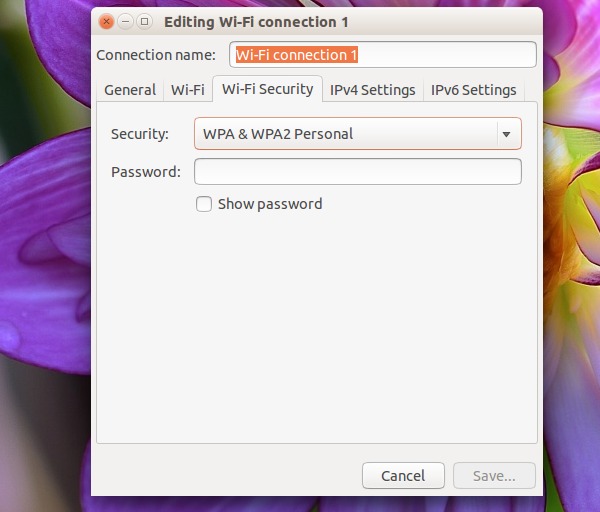
6. Go to Wi-Fi Security tab, select security type WPA & WPA2 Personal and set a password.
7. Go to IPv4 Settings tab, from Method drop-down box select Shared to other computers.
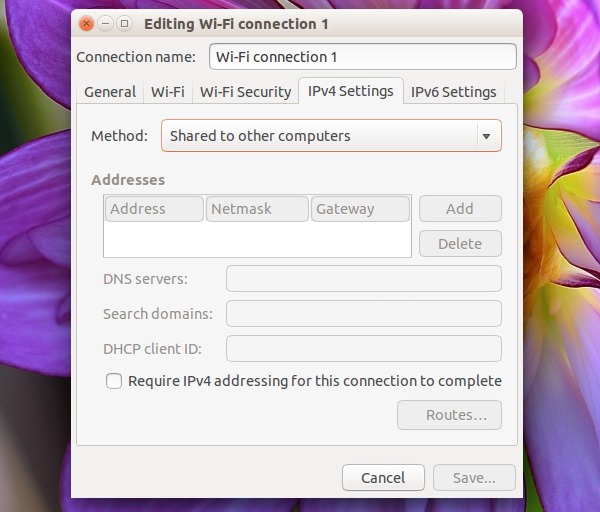
8. Click the save button.
Once you have completed the above steps, a configuration file with the newly created connection name is created under /etc/NetworkManager/system-connections directory. We will now edit this configuration file.
Open Terminal and run the following command to edit the configuration file:
gksu gedit /etc/NetworkManager/system-connections/wifi-connection-name
Please note that that you must replace wifi-connection-name with the new connection name you just created. When the file opens, search the line “mode=infrastructure” and change it to “mode=ap” and save the file.
Restart the system and enable WIFI from Network Manager icon on the Ubuntu panel bar. It will automatically connect to the newly created WiFi hotspot. If it is not connected automatically, select “Connect to Hidden Wi-Fi Network” and select the newly created WiFi hotspot from the drop-down list.